Let’s learn How to Change WordPress SMPT To Gmail or Google Work Space. This guide provide step by step tutorial on how to acomplish wordpress smpt to gmail.
Step 1. Install and activate WP Mail SMTP plugin
It will automatically redirect you to the setup wizard.
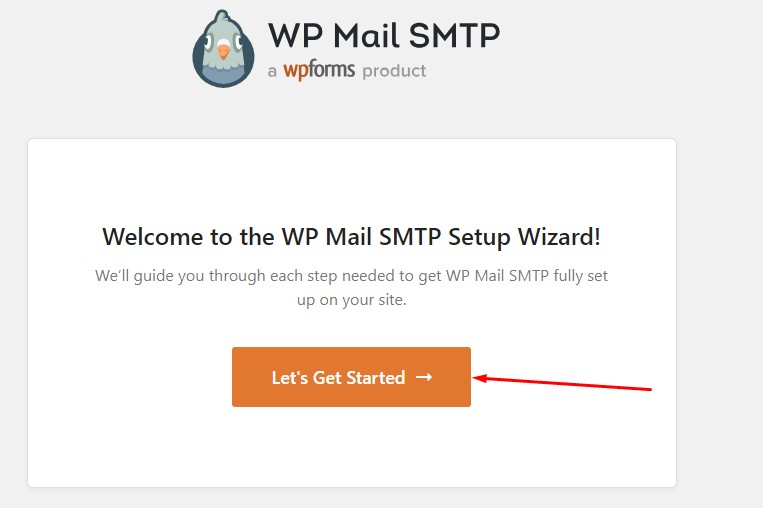
Click on Let’s Get Started.
You will be taken to the next step where you will be required to Choose Your Prefrered SMTP Mailer.
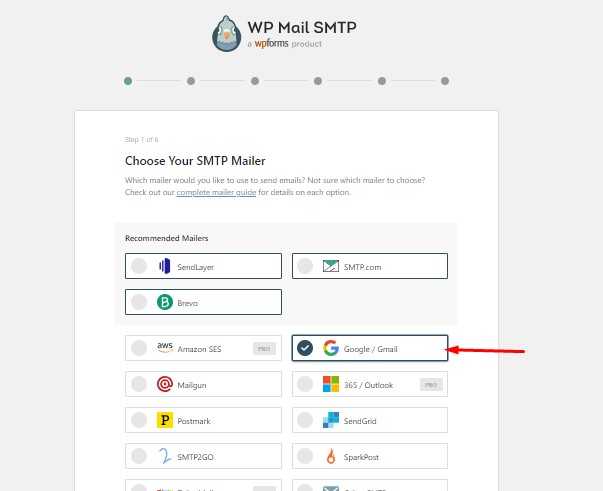
Select Google / Gmail. And click save and continue.
Now, in this phase, you will be required to provide Google / Gmail api credentials.
Note: Keep this page active you will need to comeback to it later the Authorized redirect URI
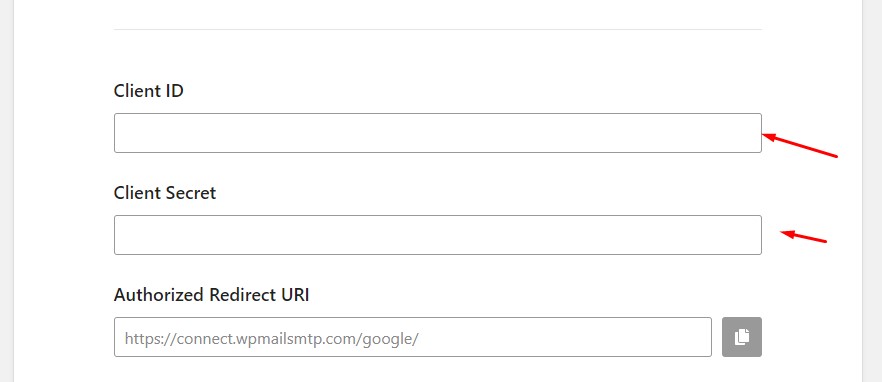
So let walk through the process of getting the Client ID and Secret.
Visit the Google Cloud Console.
If it is your first time, you will be ask to select your country and agree to the terms be you you continue.
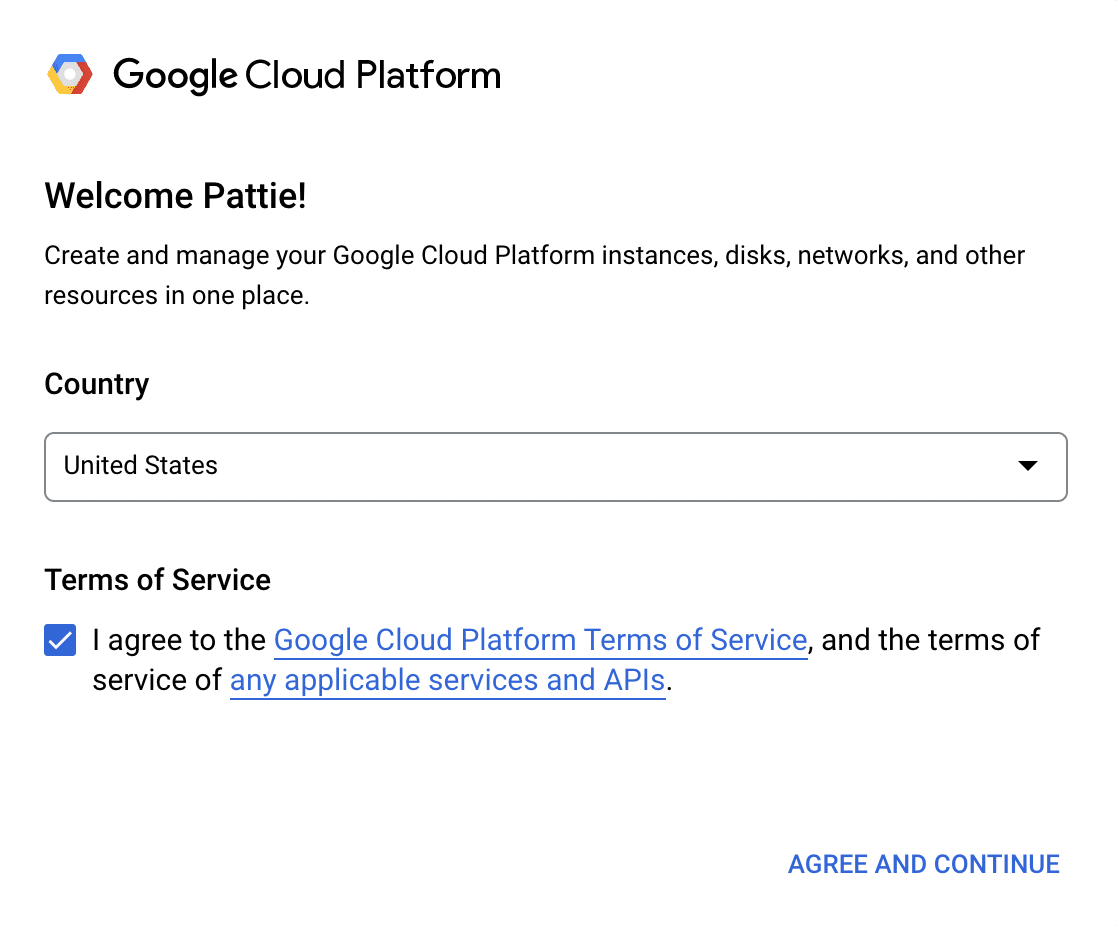
Also, make sure you check that you are sign in the gmail you want to use or the google work space and ensure you are authorise to send email from the google work space.
Create a new project or select an existing one.
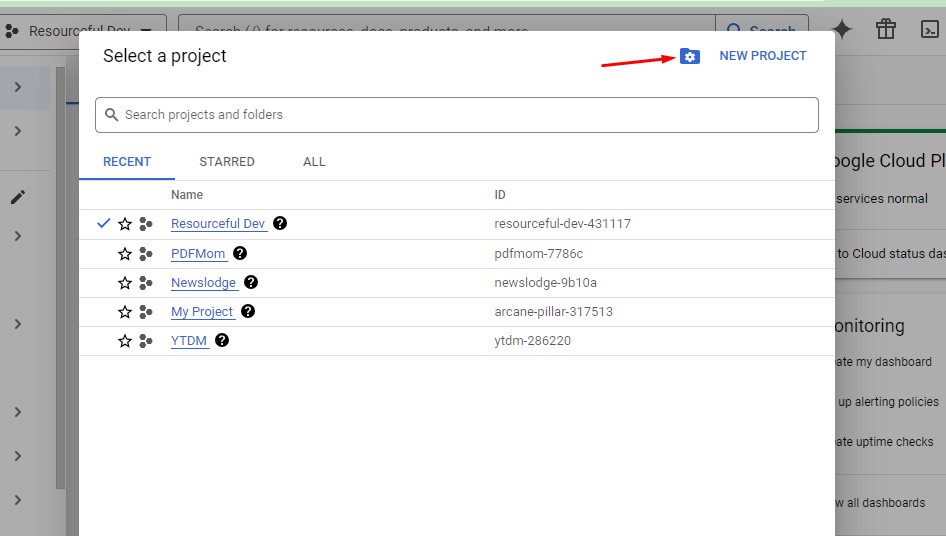
Now click on APIs & Service, then, Library
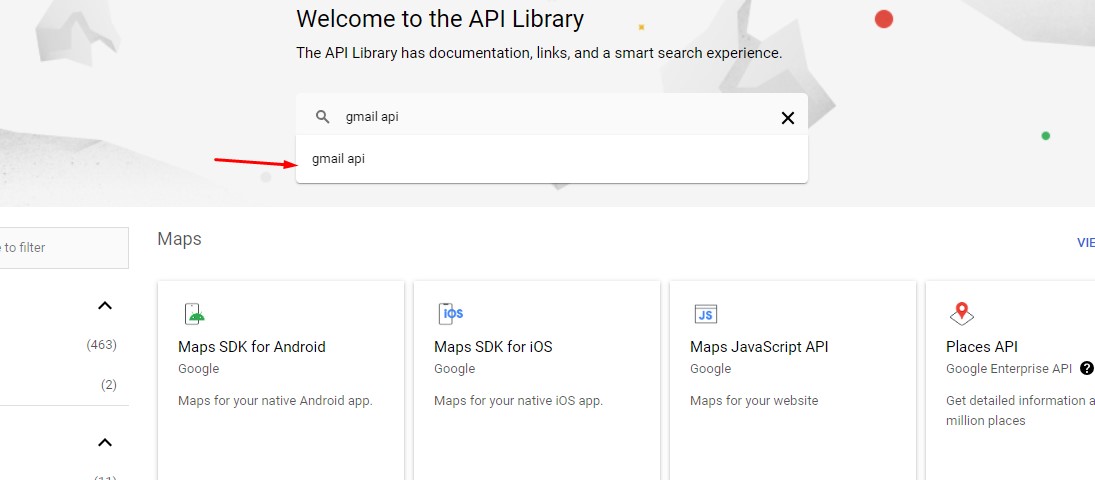
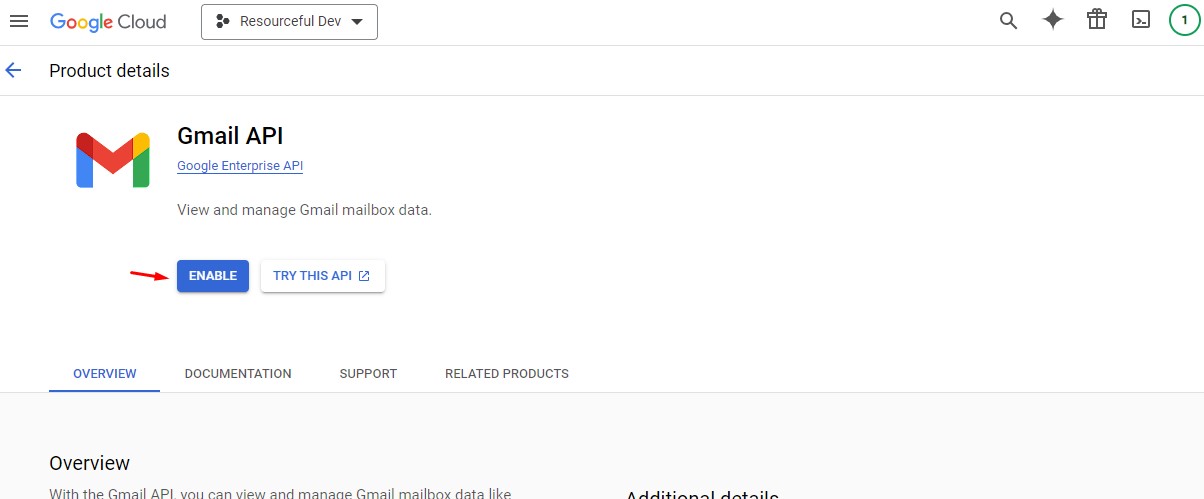
Then select the Gmail Api
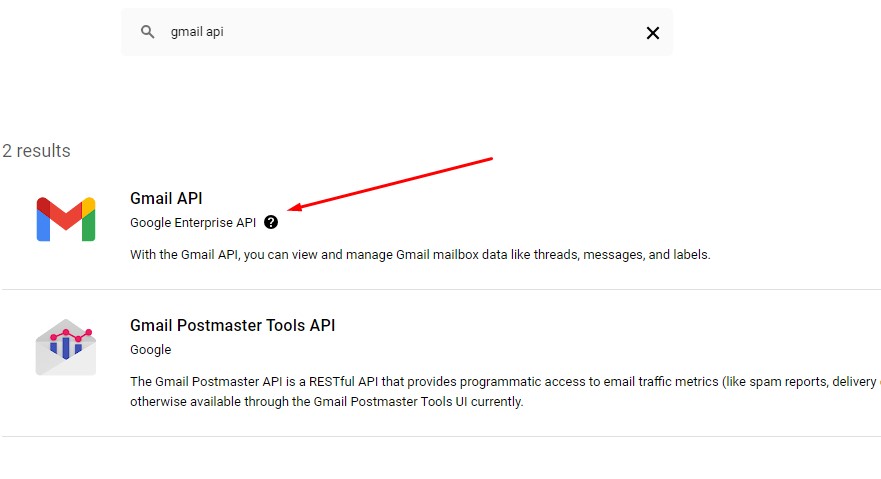
Click on Enable API
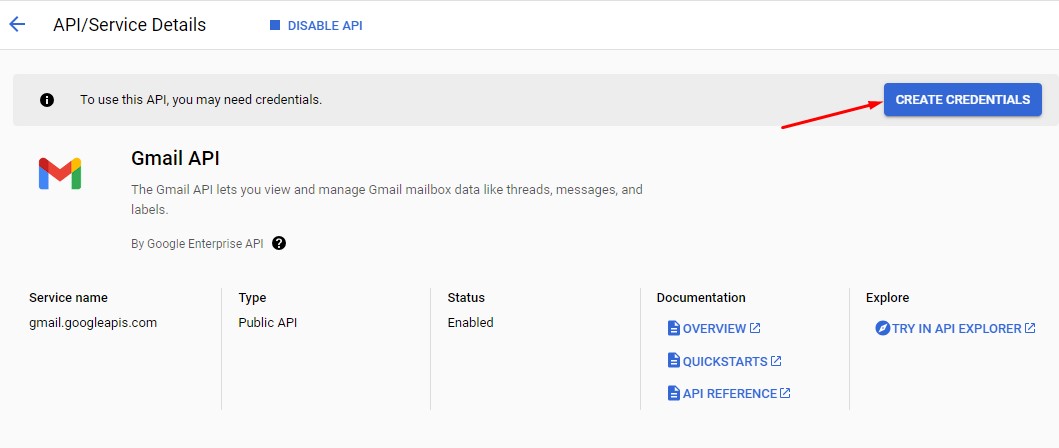
Now click on create credentials
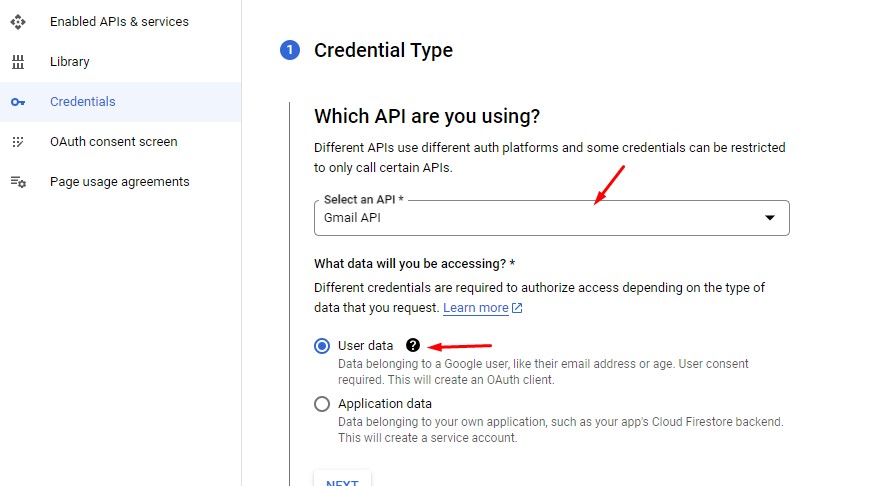
Credential Type. Here you need to leave the default API type (Gmail API) and Select Use Data
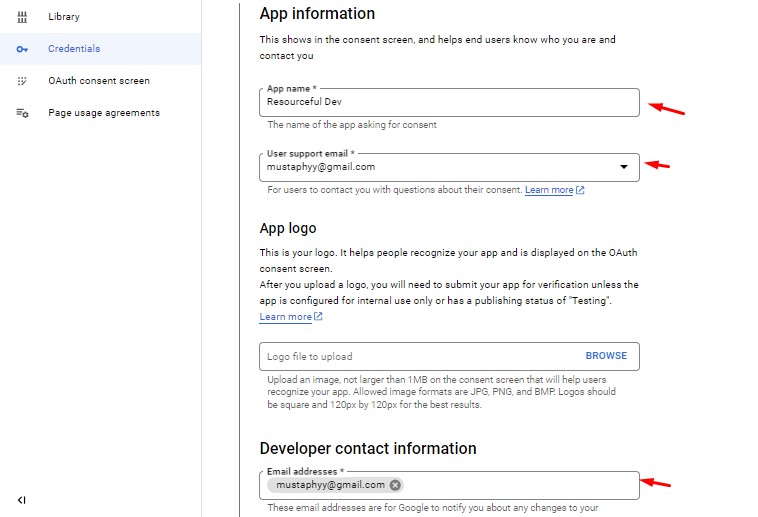
 Application information: Now add app information, Name, select an email app logo (totally optional), and then another email, it can be the same email. Then click on save and continue
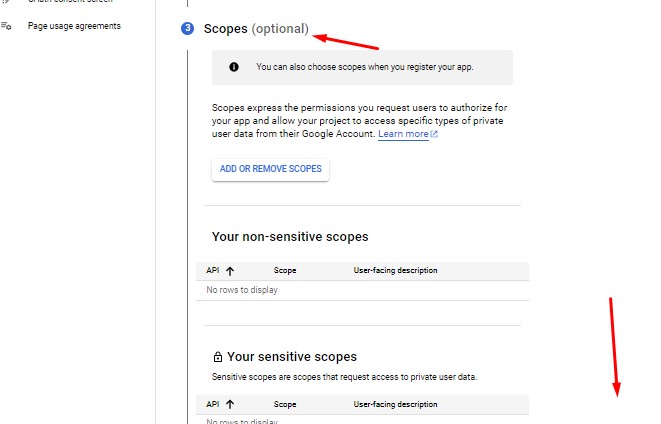
Scope: (This is also an optional step). I will skipping the by clicking save and continue.
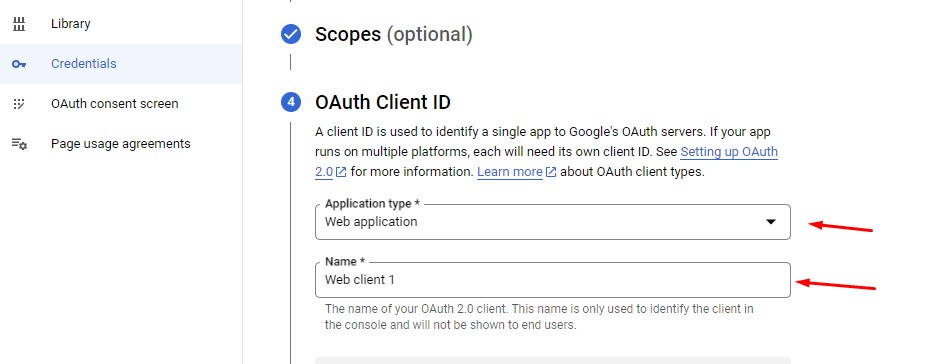
0Auth Client ID: Select Web Application. The name (Give it any reference name you like) I will leave mine be the default.
 Authorize Javascript origins: you need to skip the step

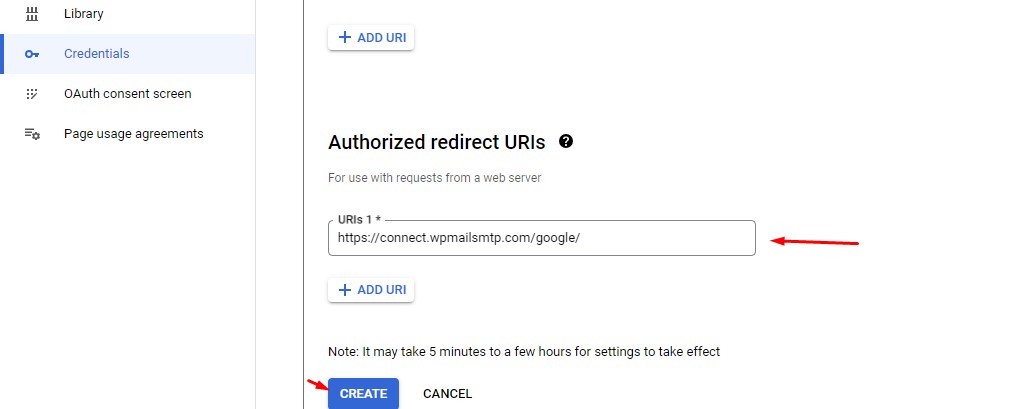
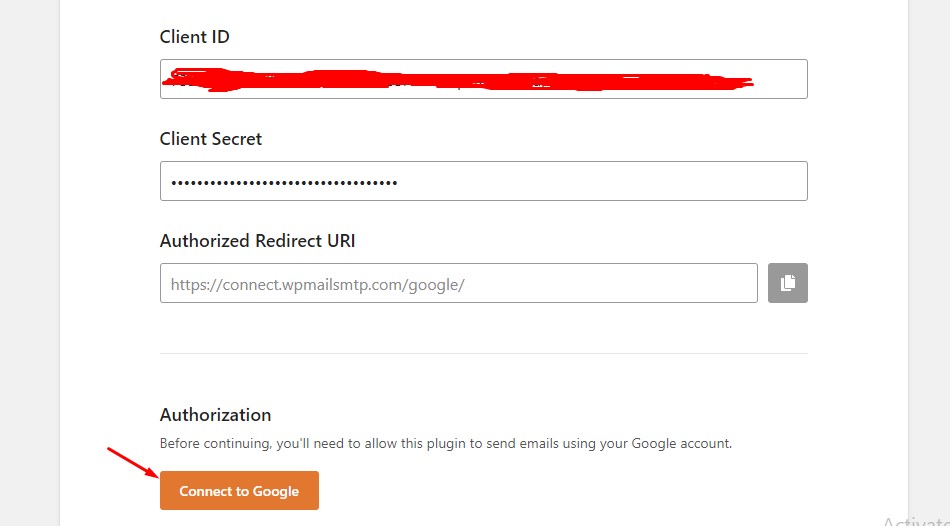
Authorized redirect URIs: Go back to the WP SMPT Setup Wizard and copy the Authorized redirect URI. Paste and click on Create.
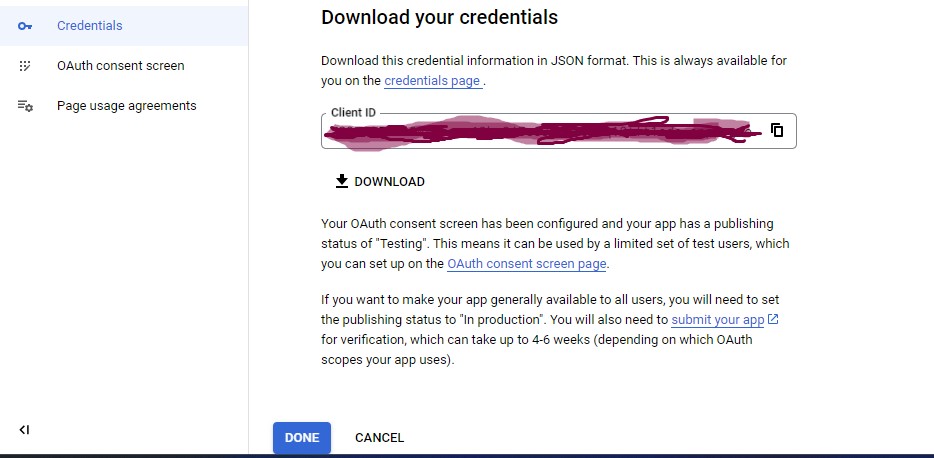
Client ID Ready: For click on the Done button and do NOT copy yet, we will get it latter.
For Google Workspace Users
from the Google Cloud Console sidebar, go to APIs & Services, then, OAuth consent screen. Beneath User type, click on the MAKE EXTERNAL button.
“Note: Only users within your organization can access your app if the User type is set to Internal. For example, if your Workspace domain is example.com, users can only access your app using an @example.com email address.
External email addresses will see an error that reads Error 403: org_internal when granting WP Mail SMTP access to your app.” wp SMTP
from the pop-up modal select in production and click on confirm.
For Gmail Users
Go to 0Auth Consent Screen. Click on the Publish App

From the pop-up modal click on the Push to Production
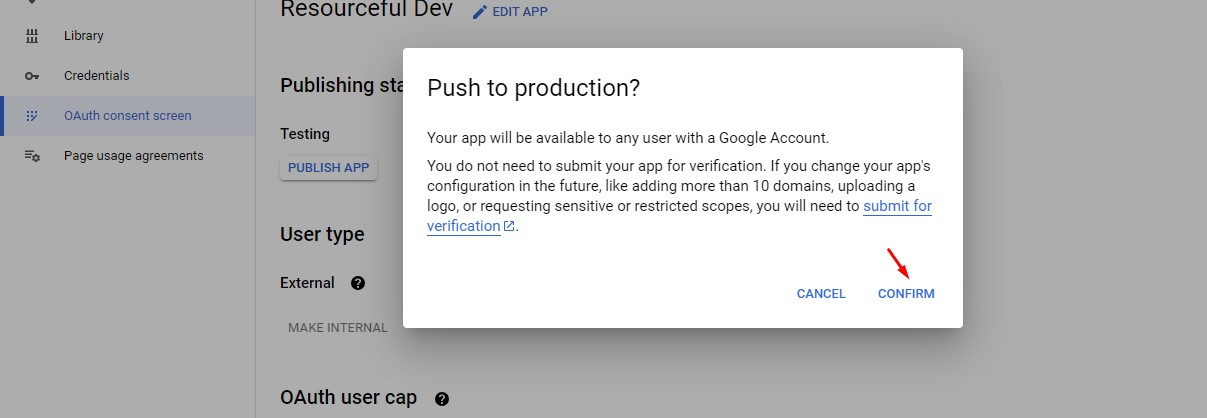
After that you have you App is now in production.
From the side bar click on Credentials, then, Click on the Pencil Icon

That will take you to your credentials IDs. copy individual head back to your setup wizard.

Now that we have pasted our id. Click on Connect to Google
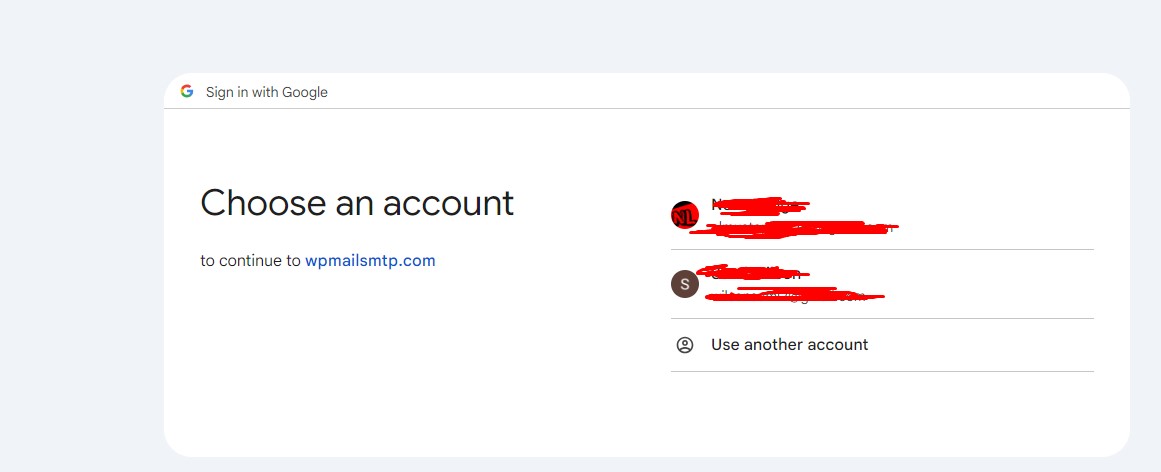
The next page, you will be prompted to sign in with the same email you use to create your credentials
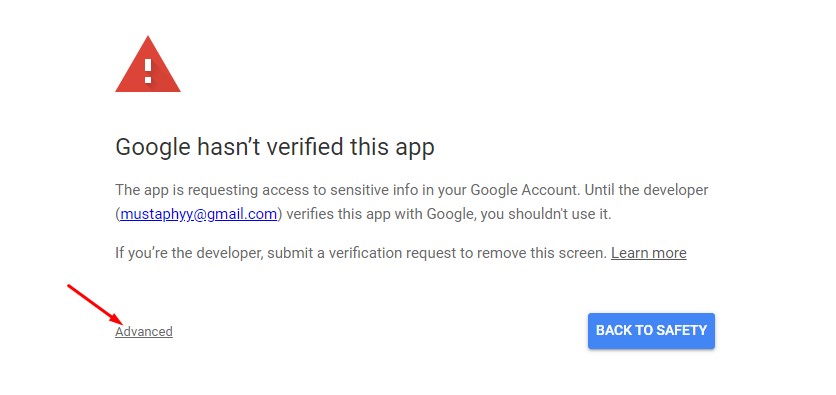
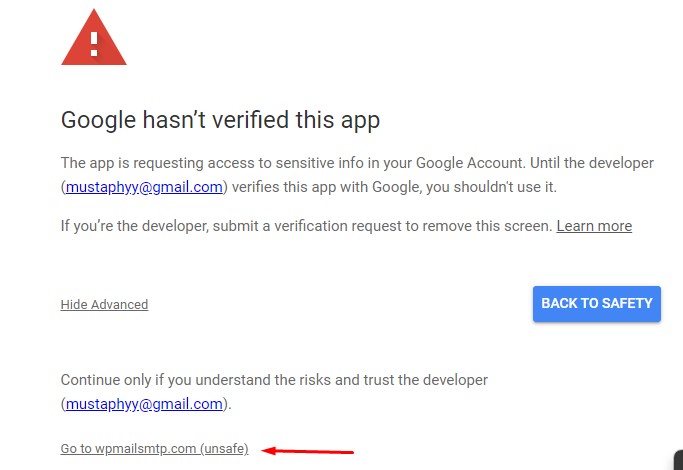
Click on advance from the next page
click on go the Wp smtp
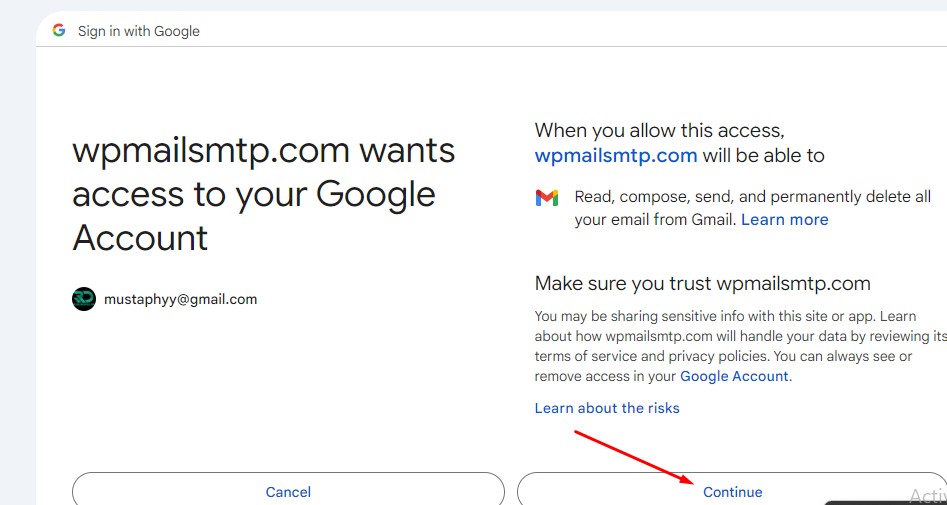
Click on the Continue button
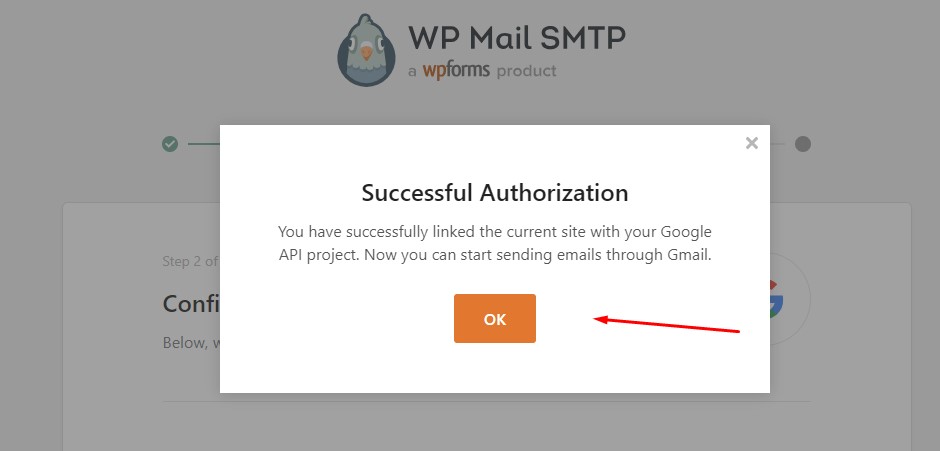
A success message: click on Ok from the success message
Now, you details will be auto filled From Name and From Email. Click on Save and Continue
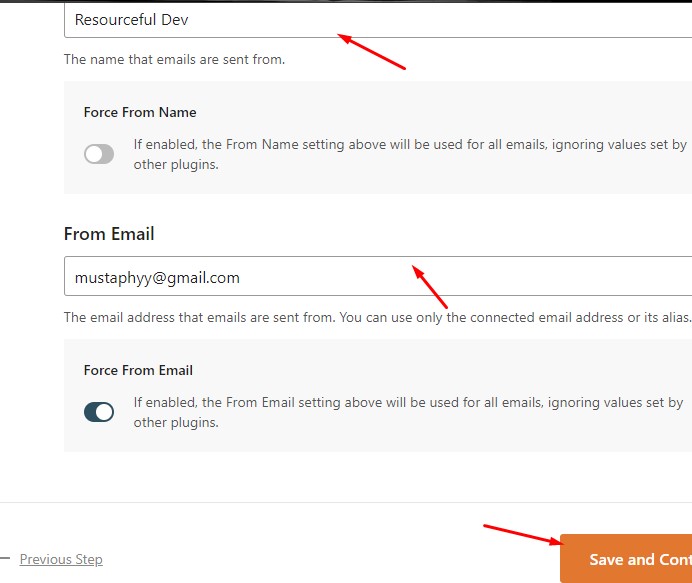
The next Step 3: Click Save and Continue. nothing to change from here.
In the next step, you can chose to skip that step or optin to wp mail list. From me I will click save and continue.
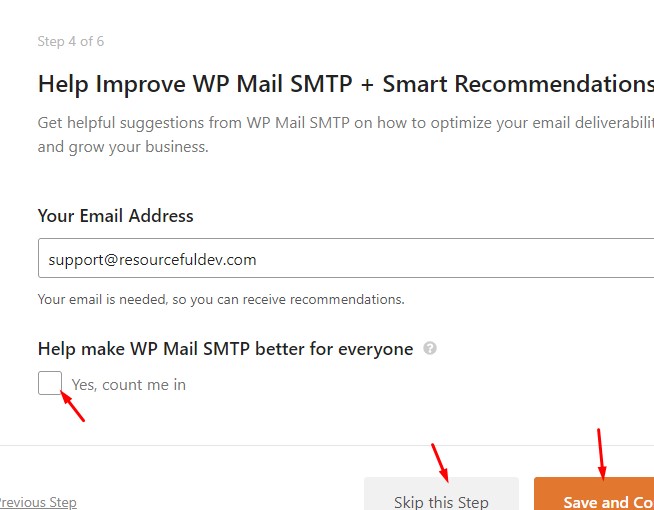
The Next step 5: Click the skip if you are on the lite version or enter your license key and connect.
At this point you are done connecting or changing your wordpress SMPT you choose send a test email of click finish setup

I hope you find this help. Let’s us know you thought in comment.

